


For every mode: fast input
Best upload: JPG, PNG or WebP under 8 MB, sharp, well-lit and cropped to the useful area. HEIC/HEIF is supported, but JPG/PNG/WebP usually decodes faster.
Stencil generator guide
A practical guide to Universal Stencil Maker: what to upload, which mode to choose, how quality changes, what to edit after generation and what file you get at the end.
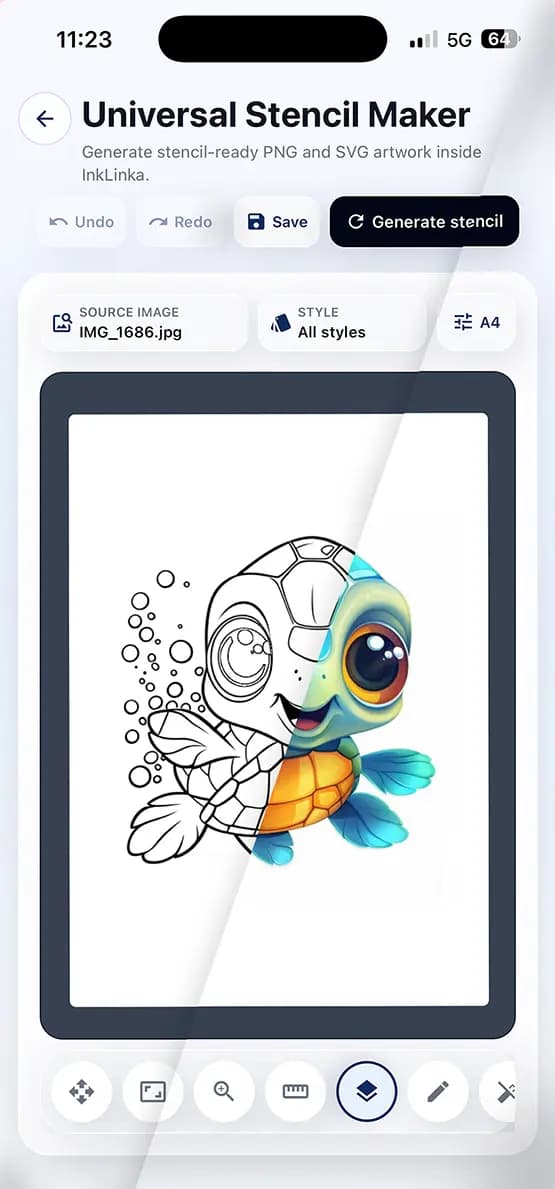
Before generation
Fast generation and clean contours depend on the source. Use a cropped, sharp image with one clear subject, avoid huge empty canvases, watermarks and noisy backgrounds, then choose the mode by what the image already contains.
Best upload: JPG, PNG or WebP under 8 MB, sharp, well-lit and cropped to the useful area. HEIC/HEIF is supported, but JPG/PNG/WebP usually decodes faster.
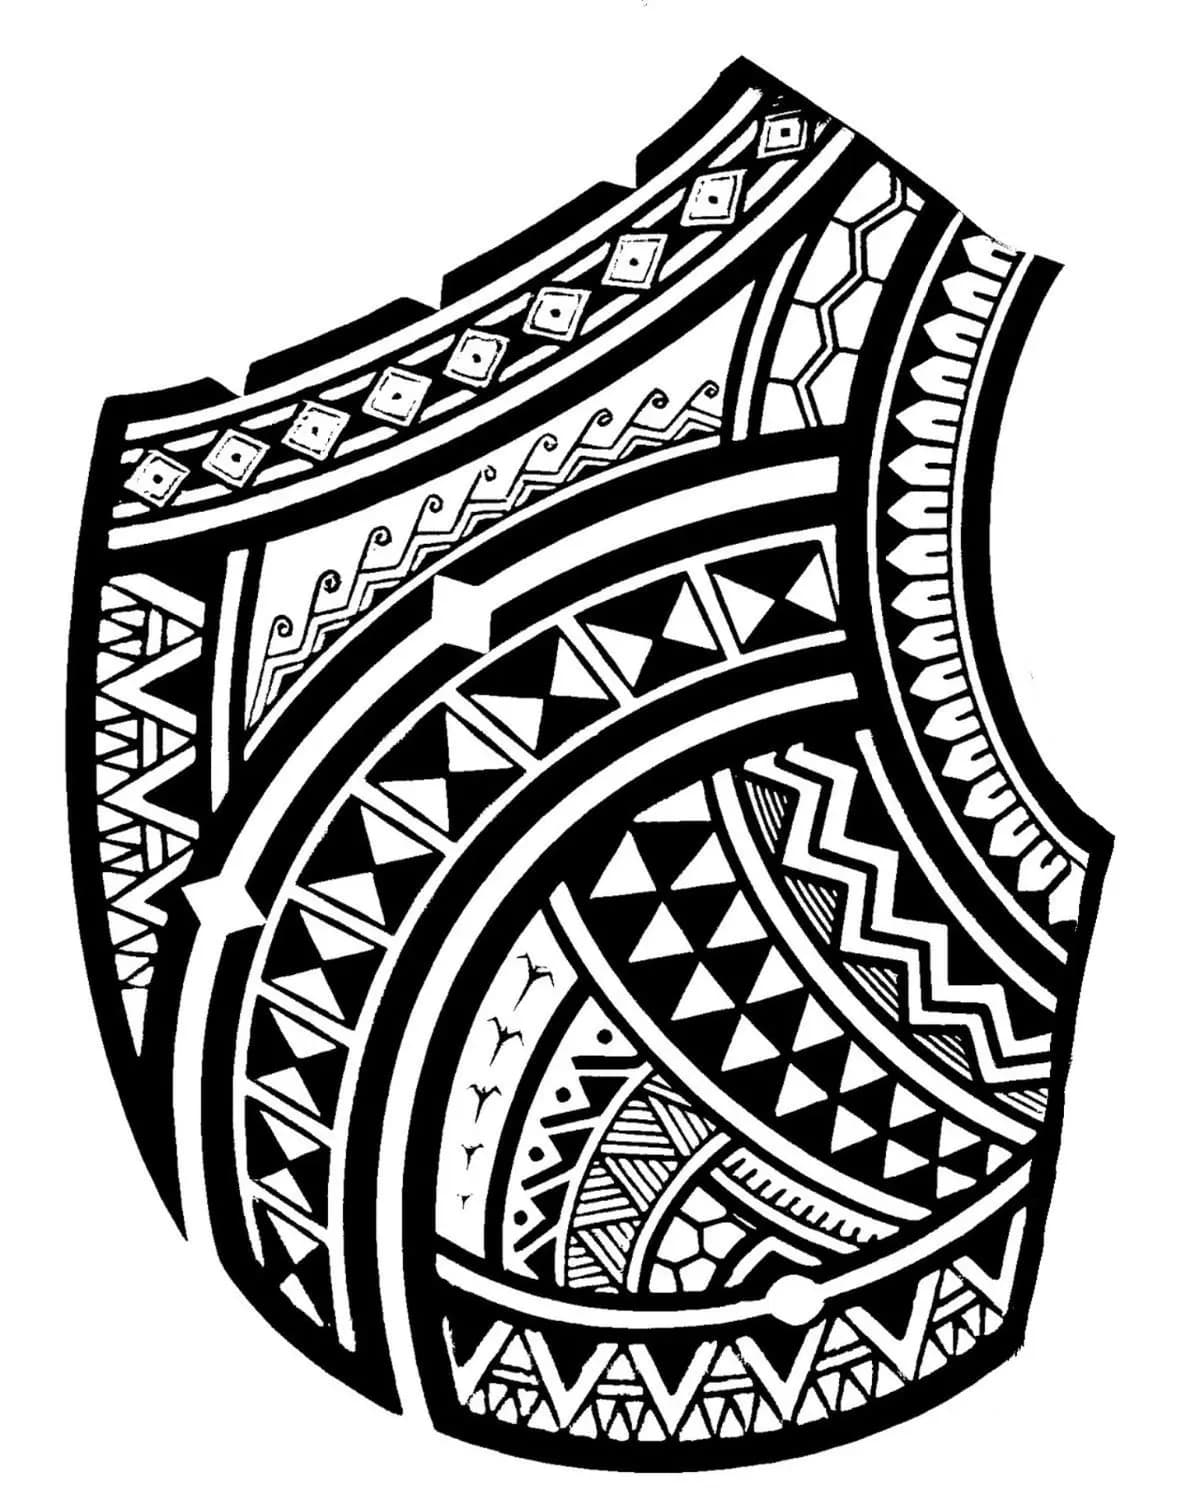
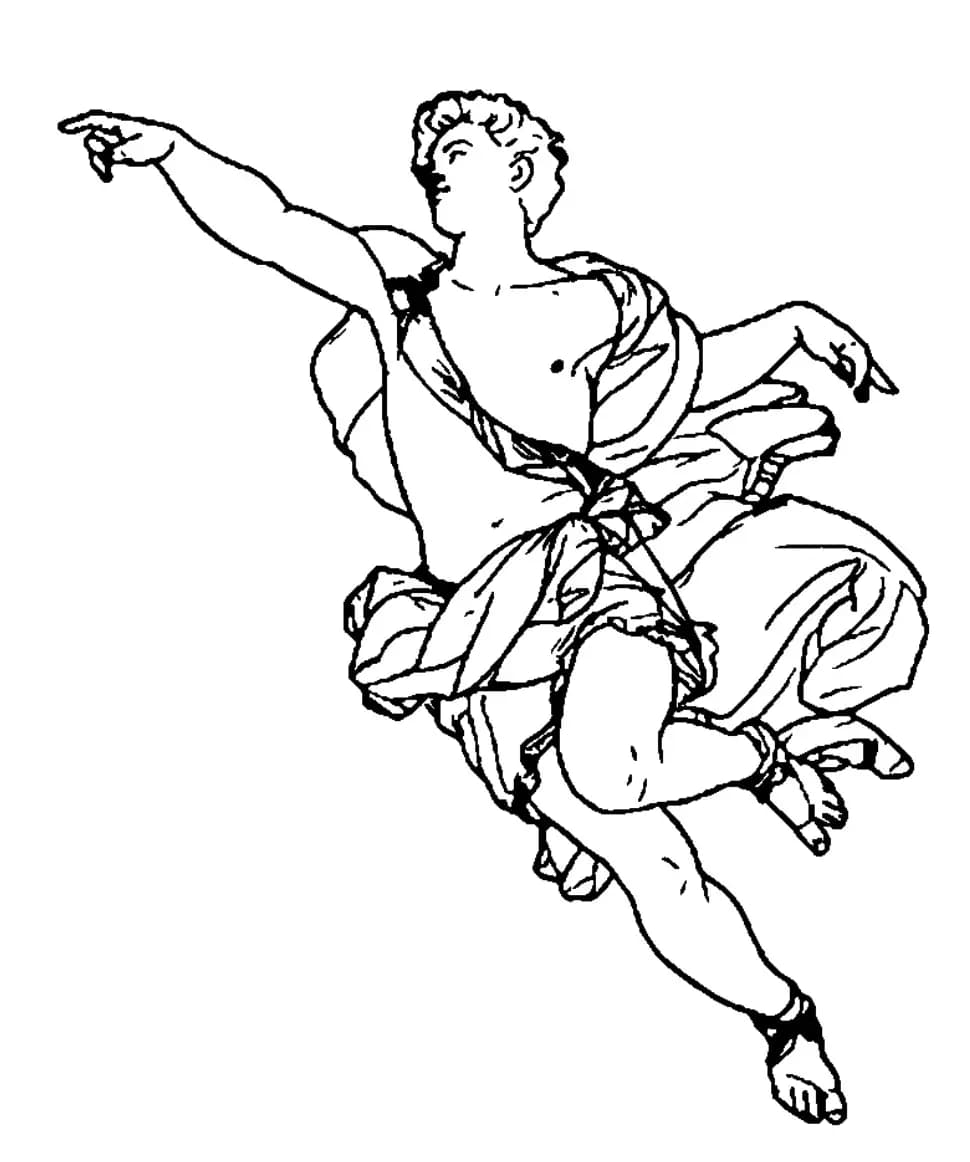
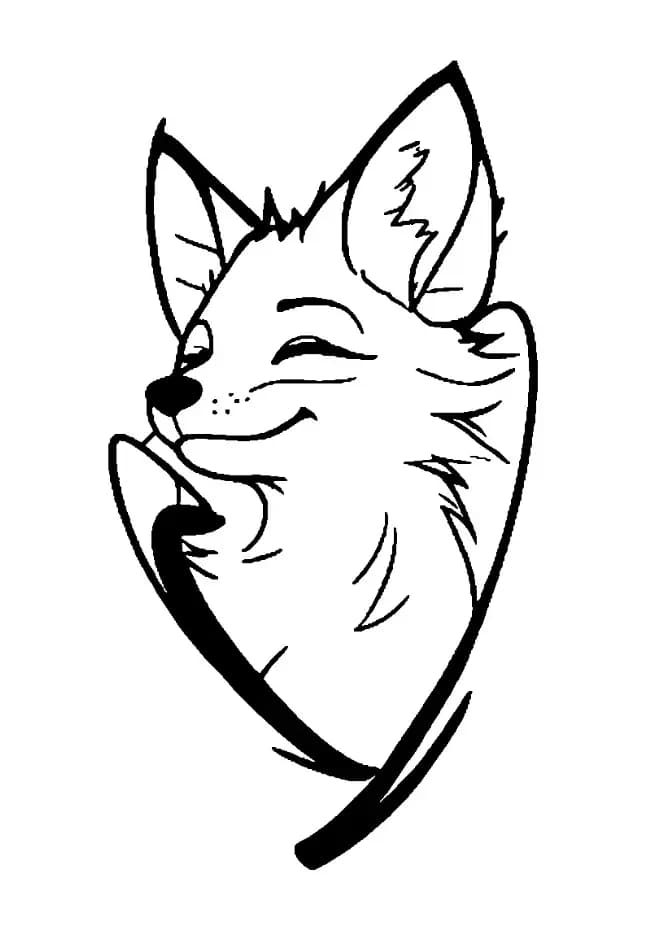
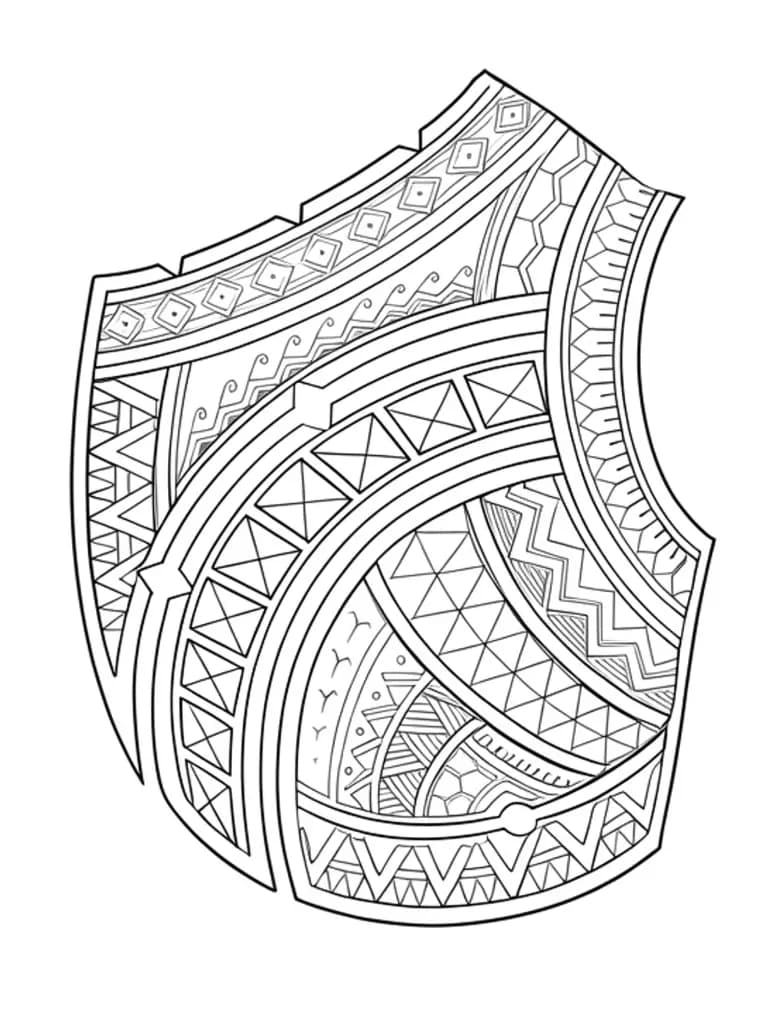
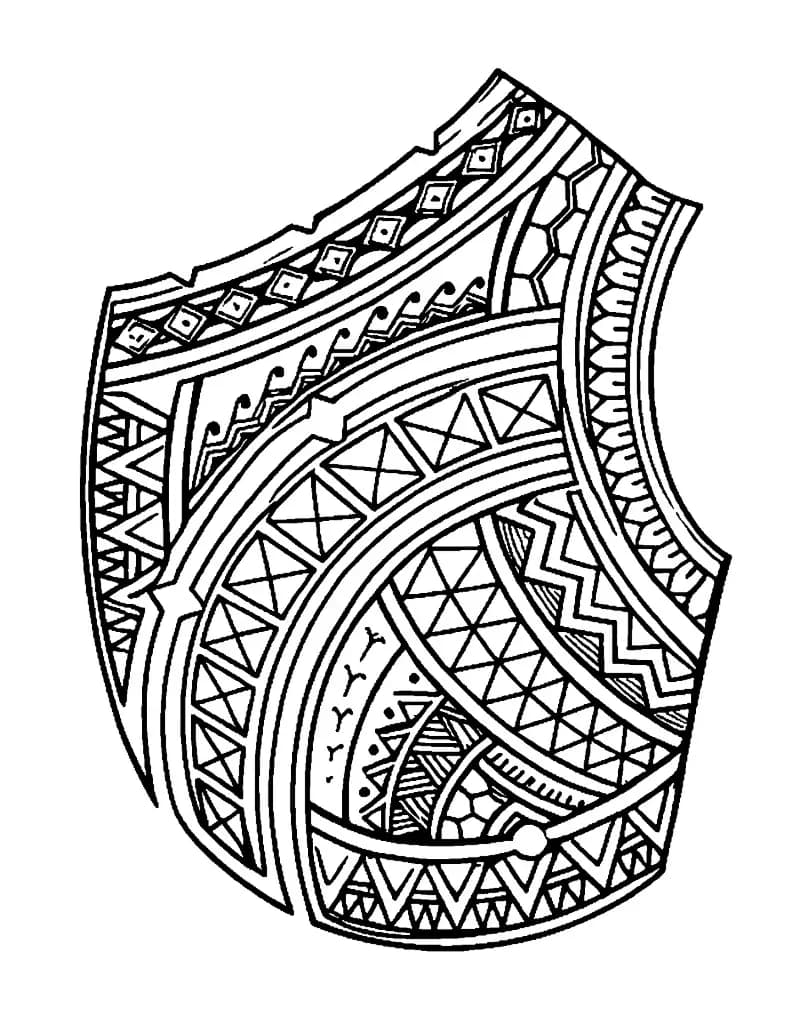
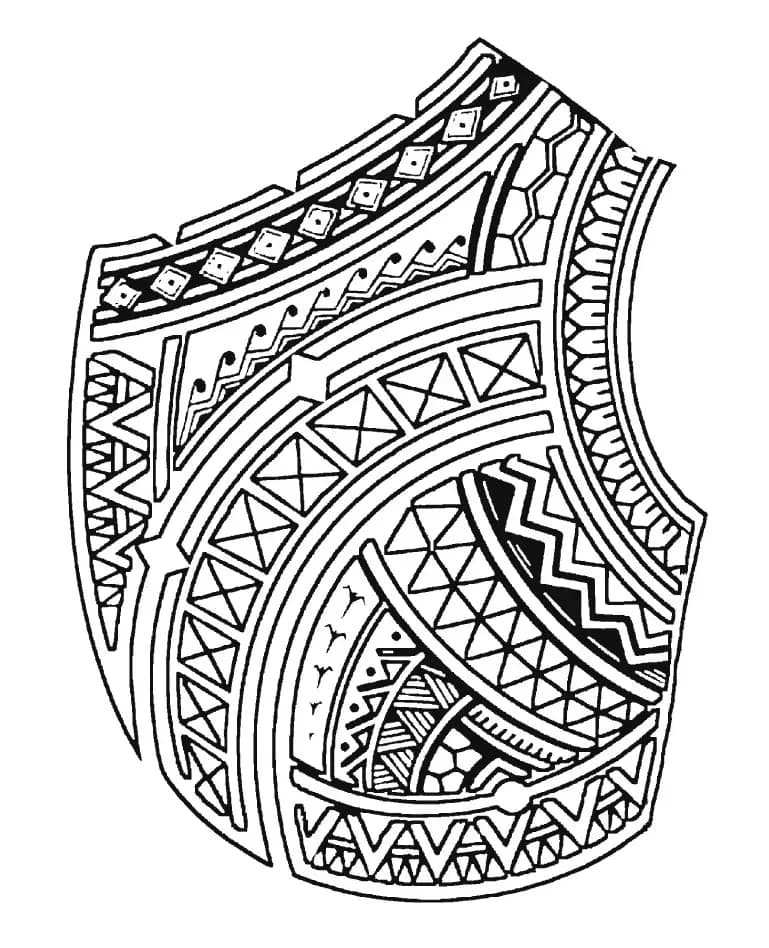
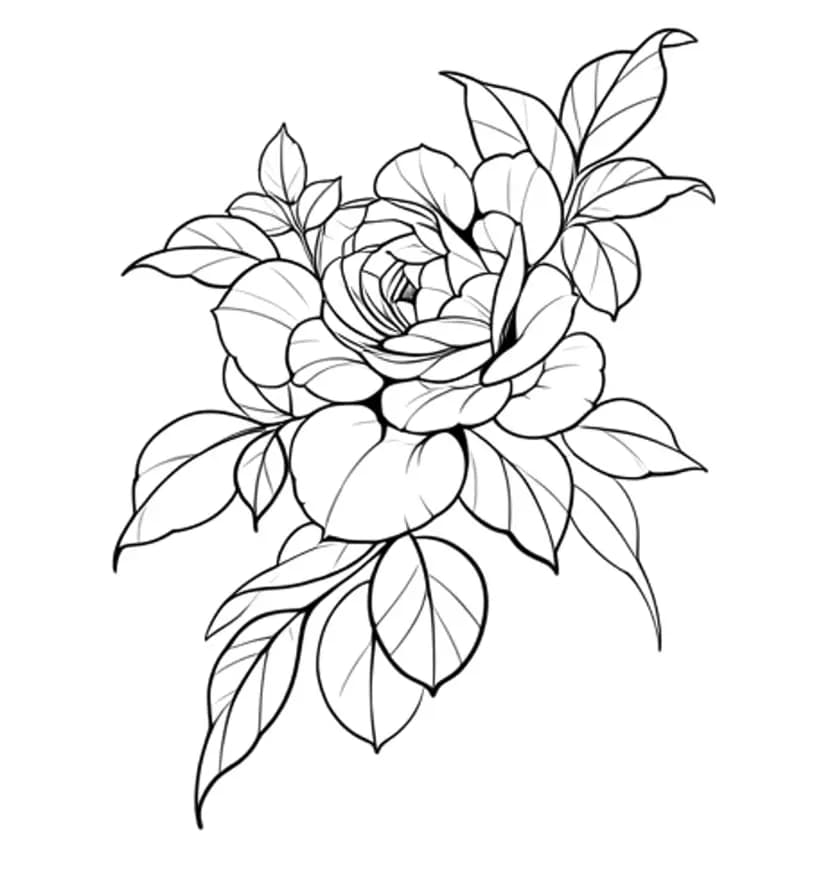
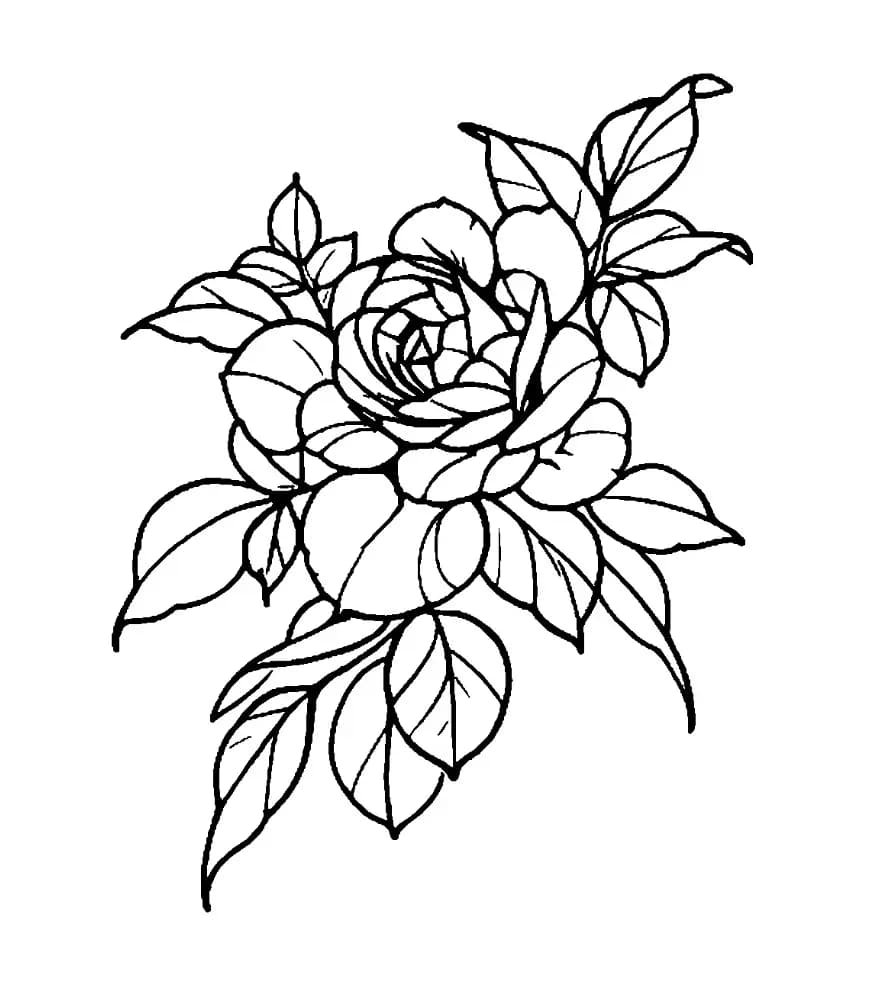
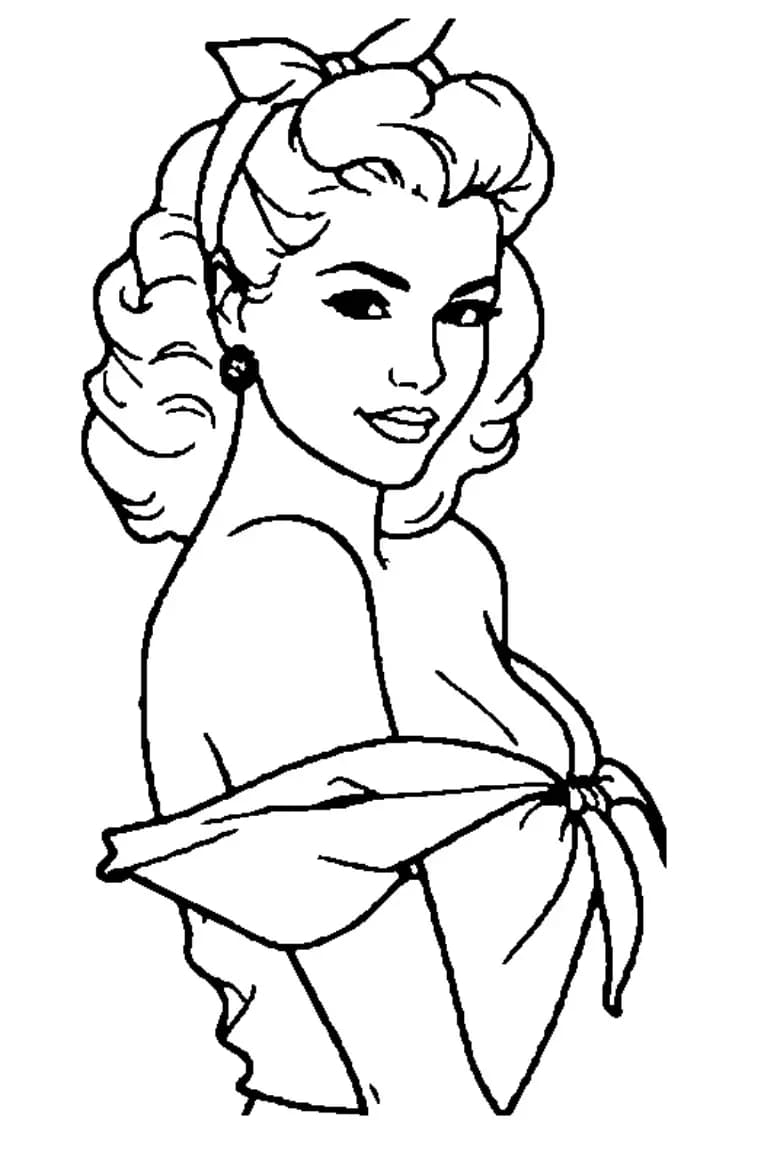
Best source: black-and-white or high-contrast flash, Polynesian ornament, lettering or bold line art with clear outer contours, few shadows and fills that can be removed.
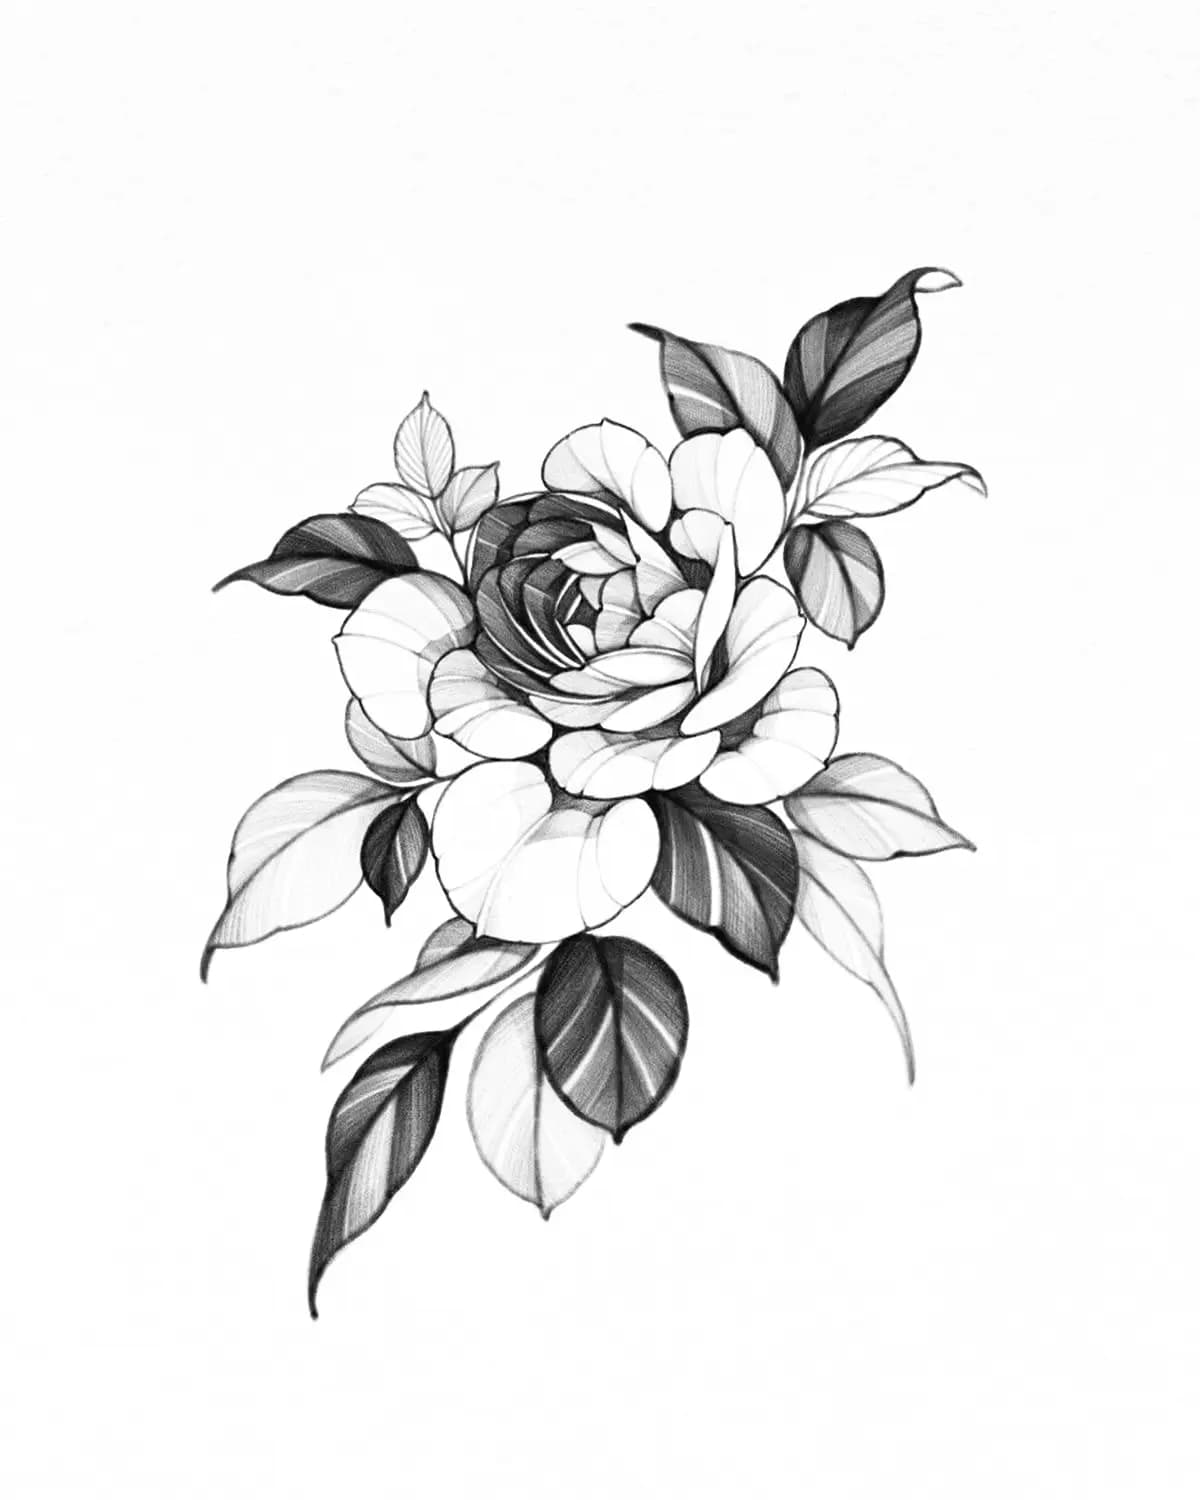
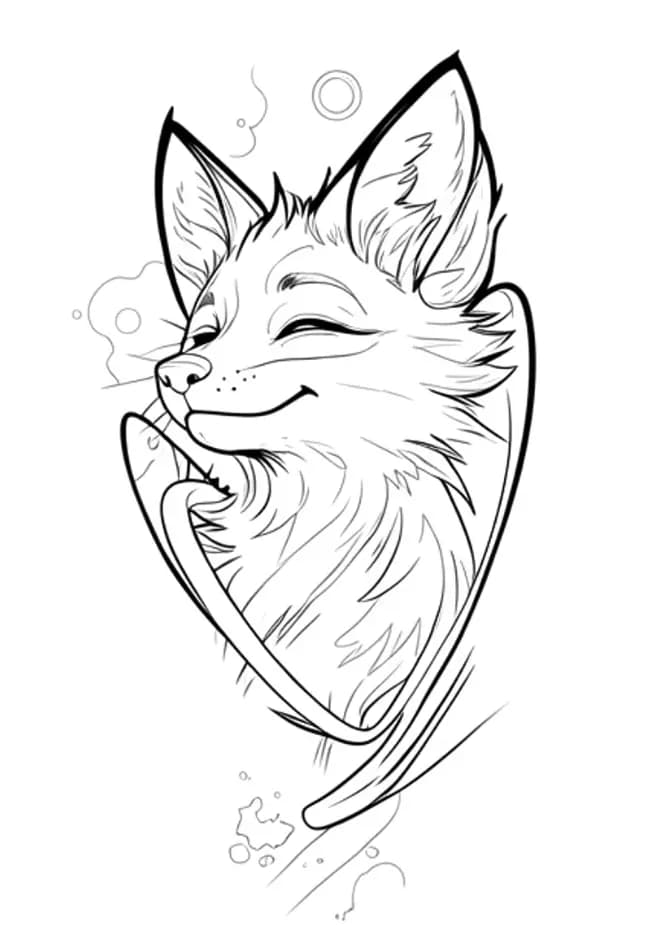
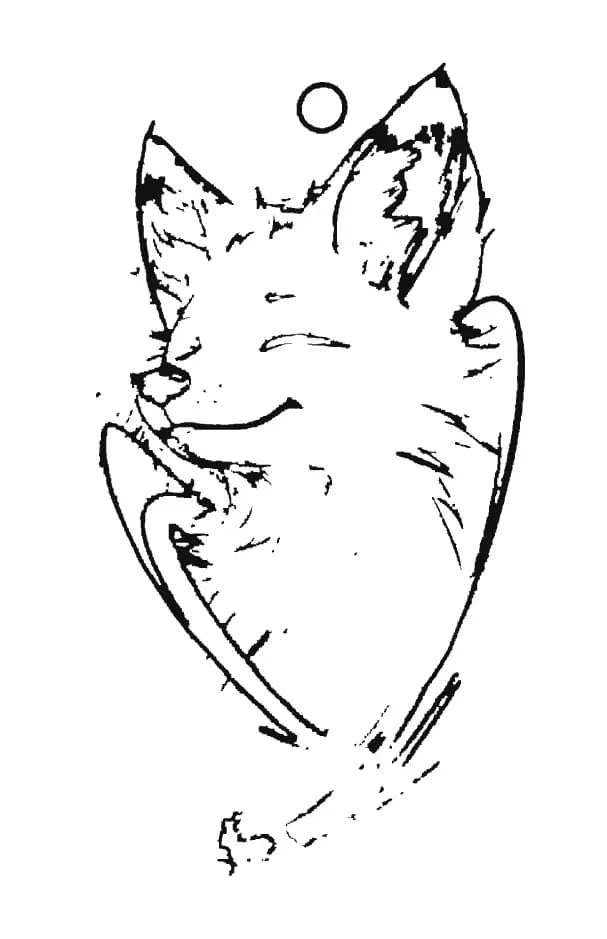
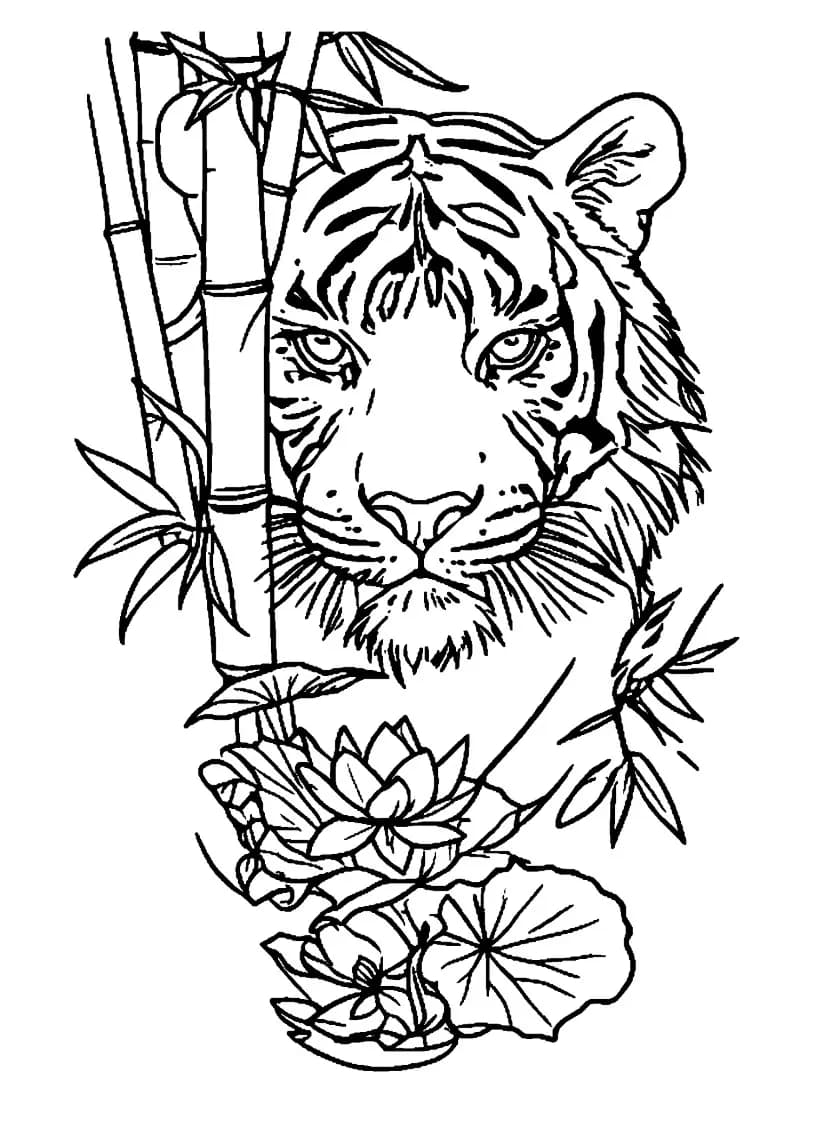
Best source: one readable object, animal or graphic reference with a strong silhouette, moderate shadows and minimal background. Avoid painterly gradients and crowded scenes.
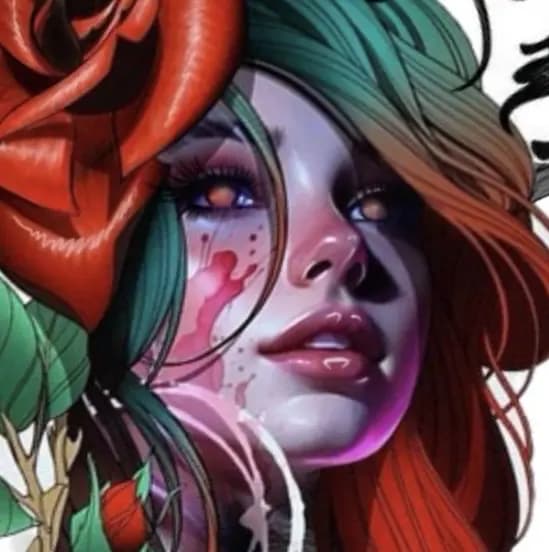
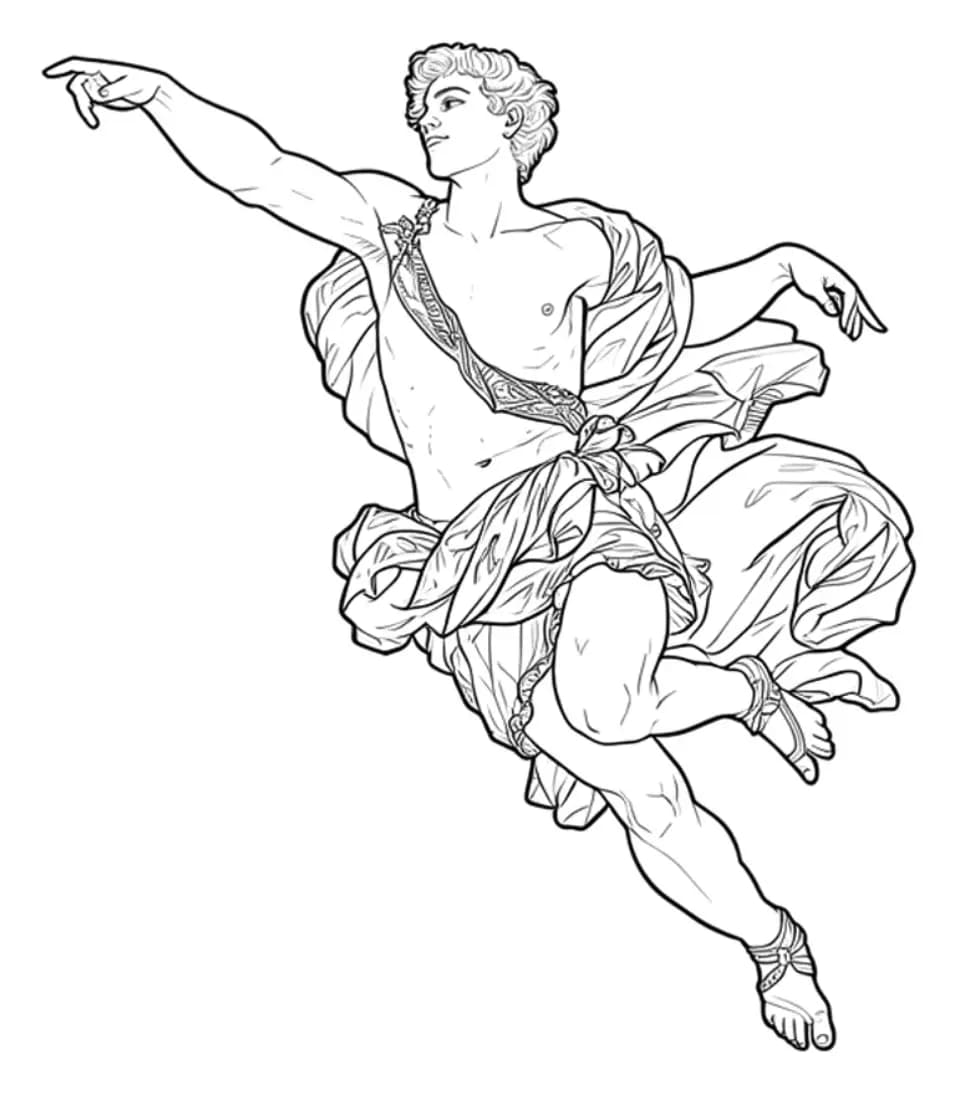
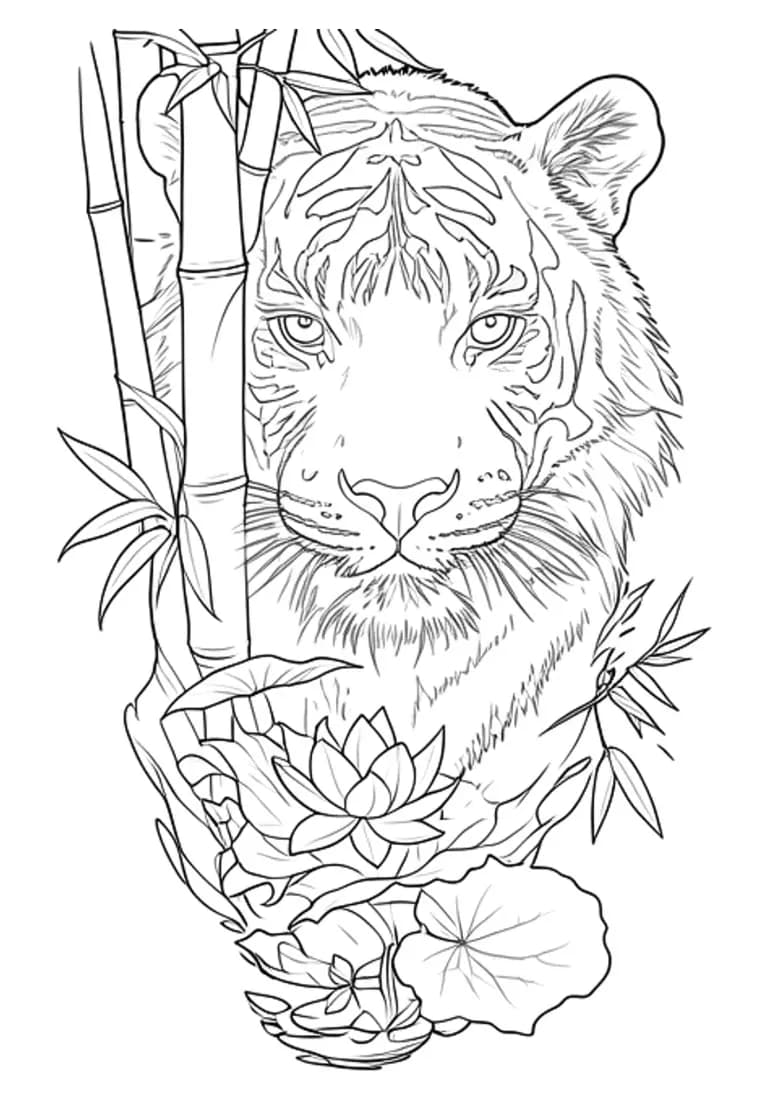
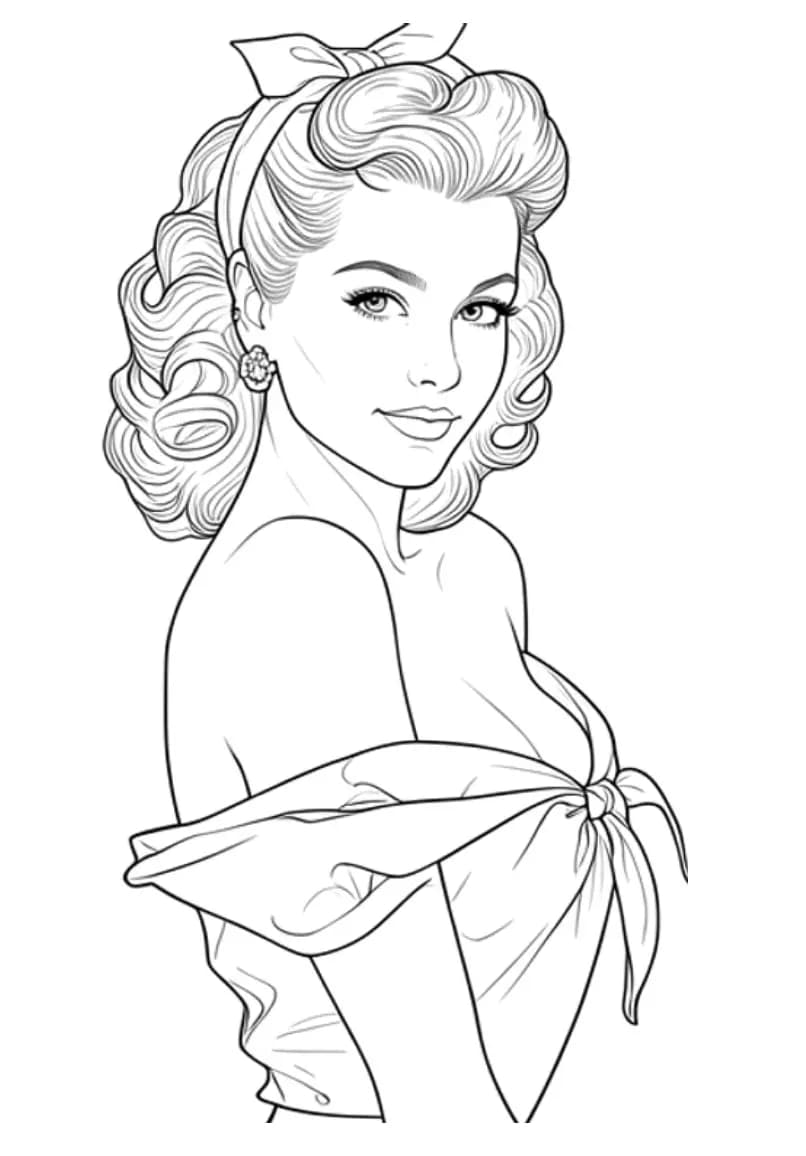
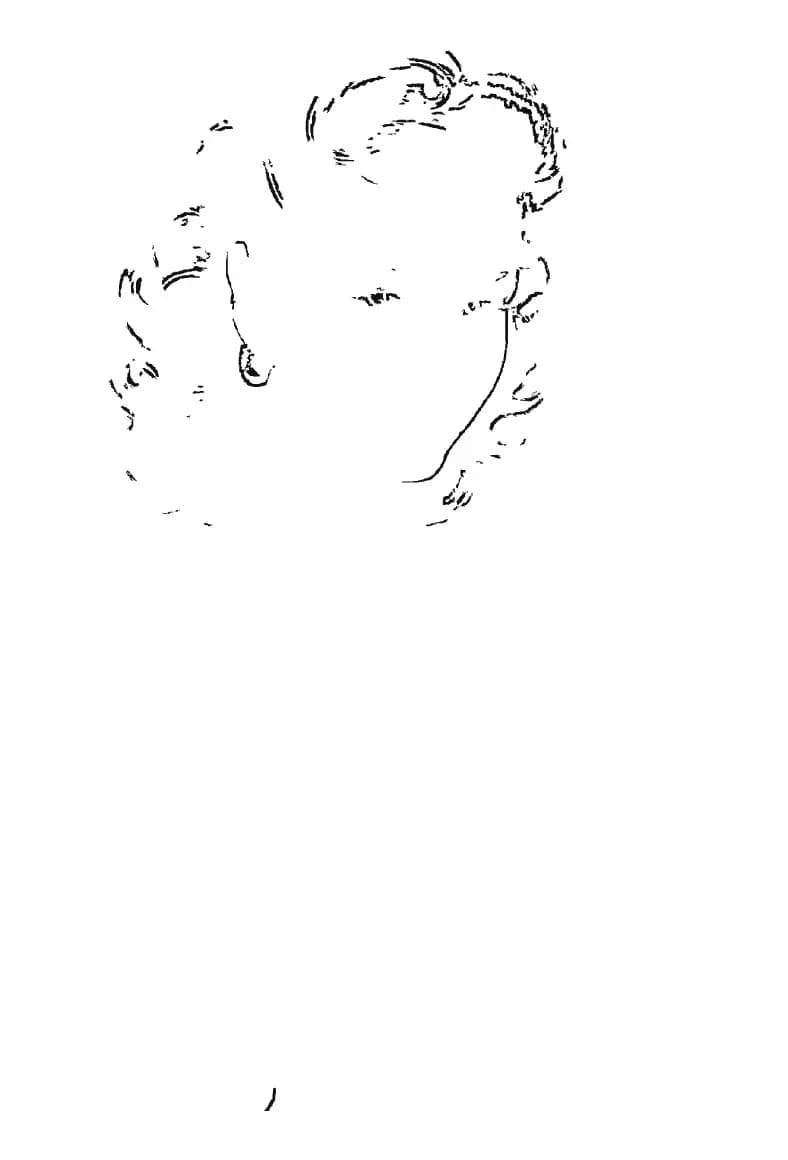
Best source: sharp realism, portrait, illustration or mixed style where the full subject is visible and faces, hands, hair, eyes or key details are large enough for AI interpretation.
Mode selection
Higher quality does not always mean more detail. For tattoo prep, quality means readable contour, controlled simplification, fewer background artifacts and a result that still leaves the artist in control.
Original
Fits all tattoo styles when you need professional-quality stencil structure.
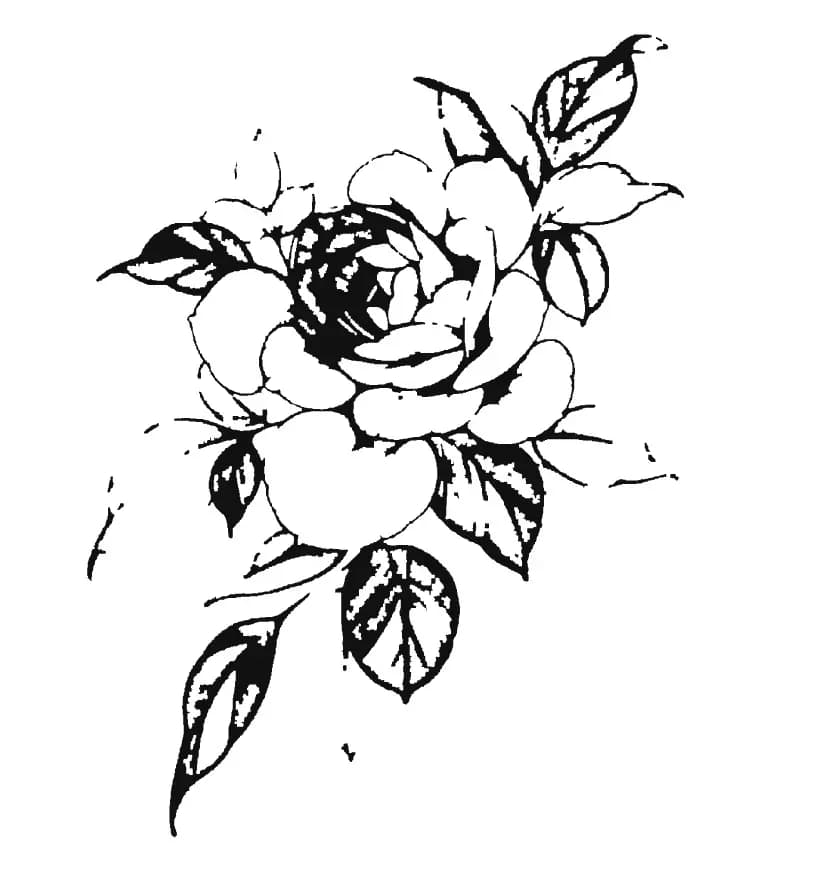
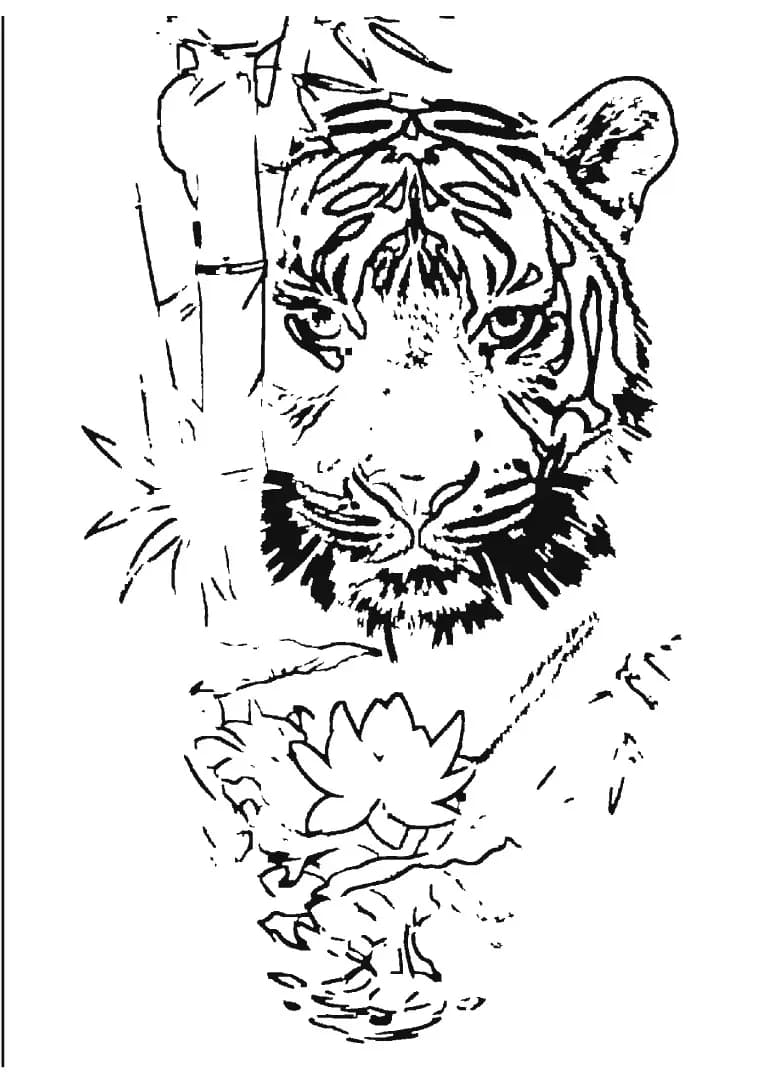
Best only for some styles: mostly graphic work with light shadows, sometimes black-and-white realism and animals.
No AI support and no limits. Best for Polynesian and traditional work with clear contours, few shadows and fill removal.
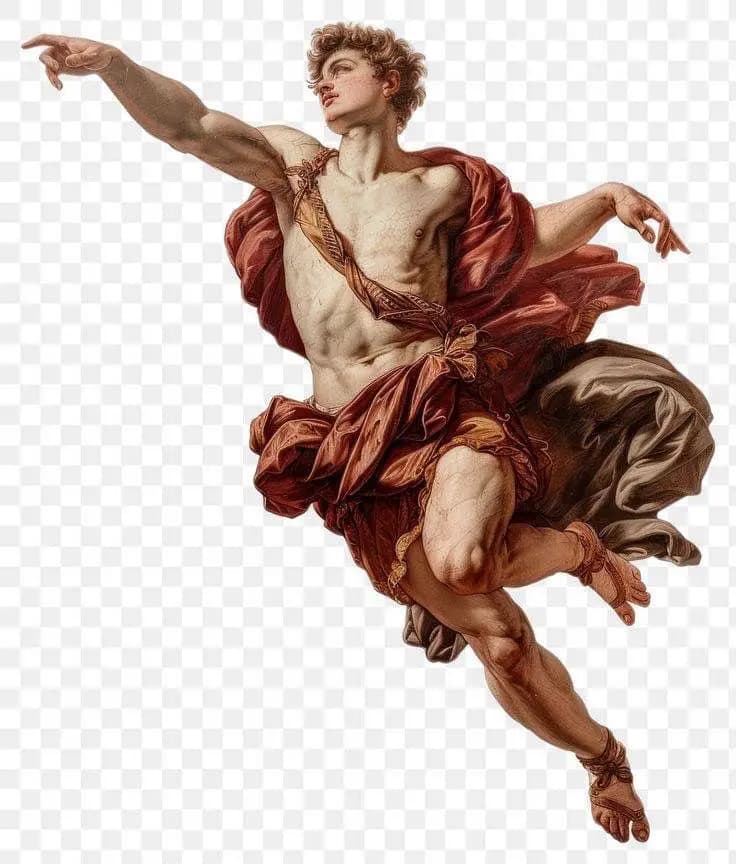
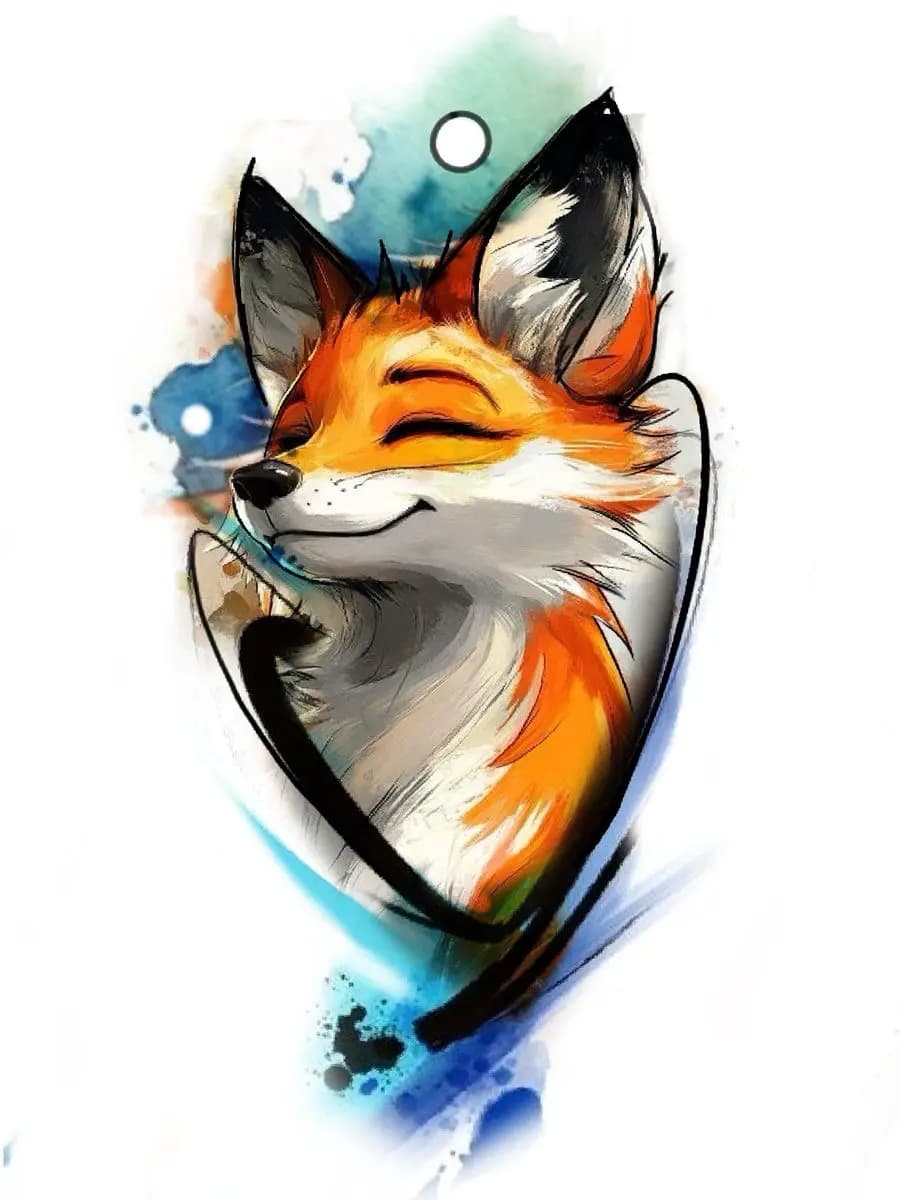
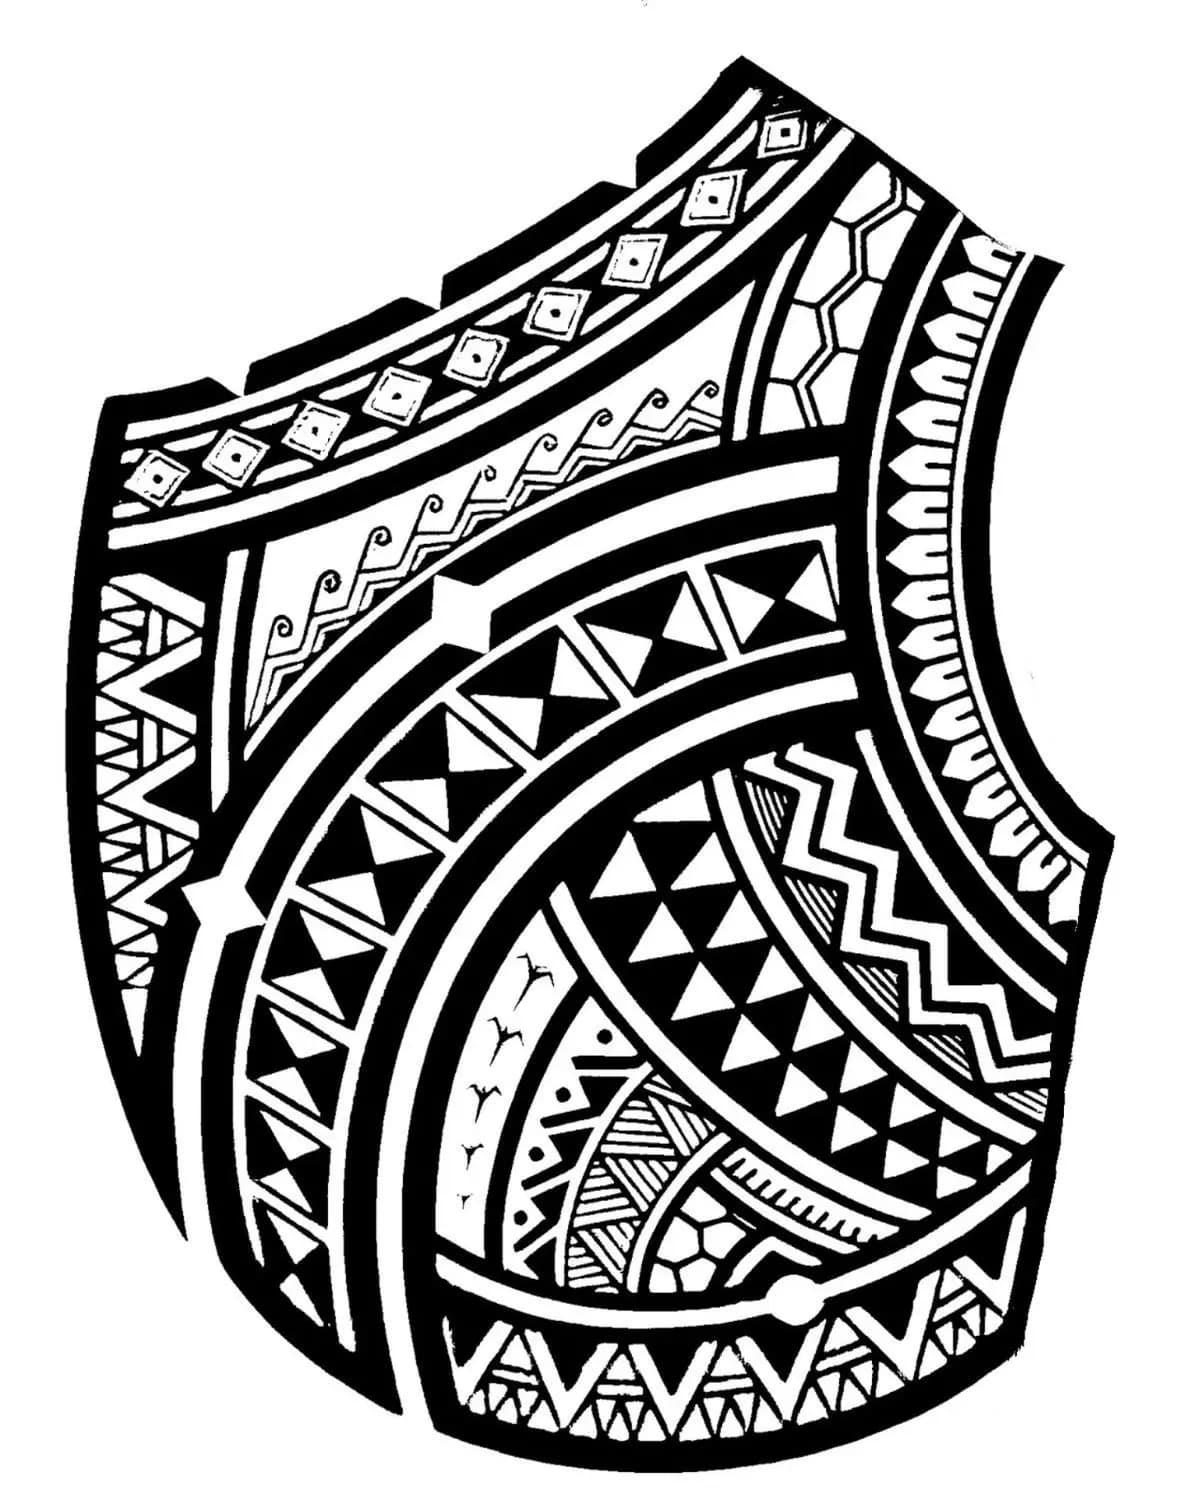
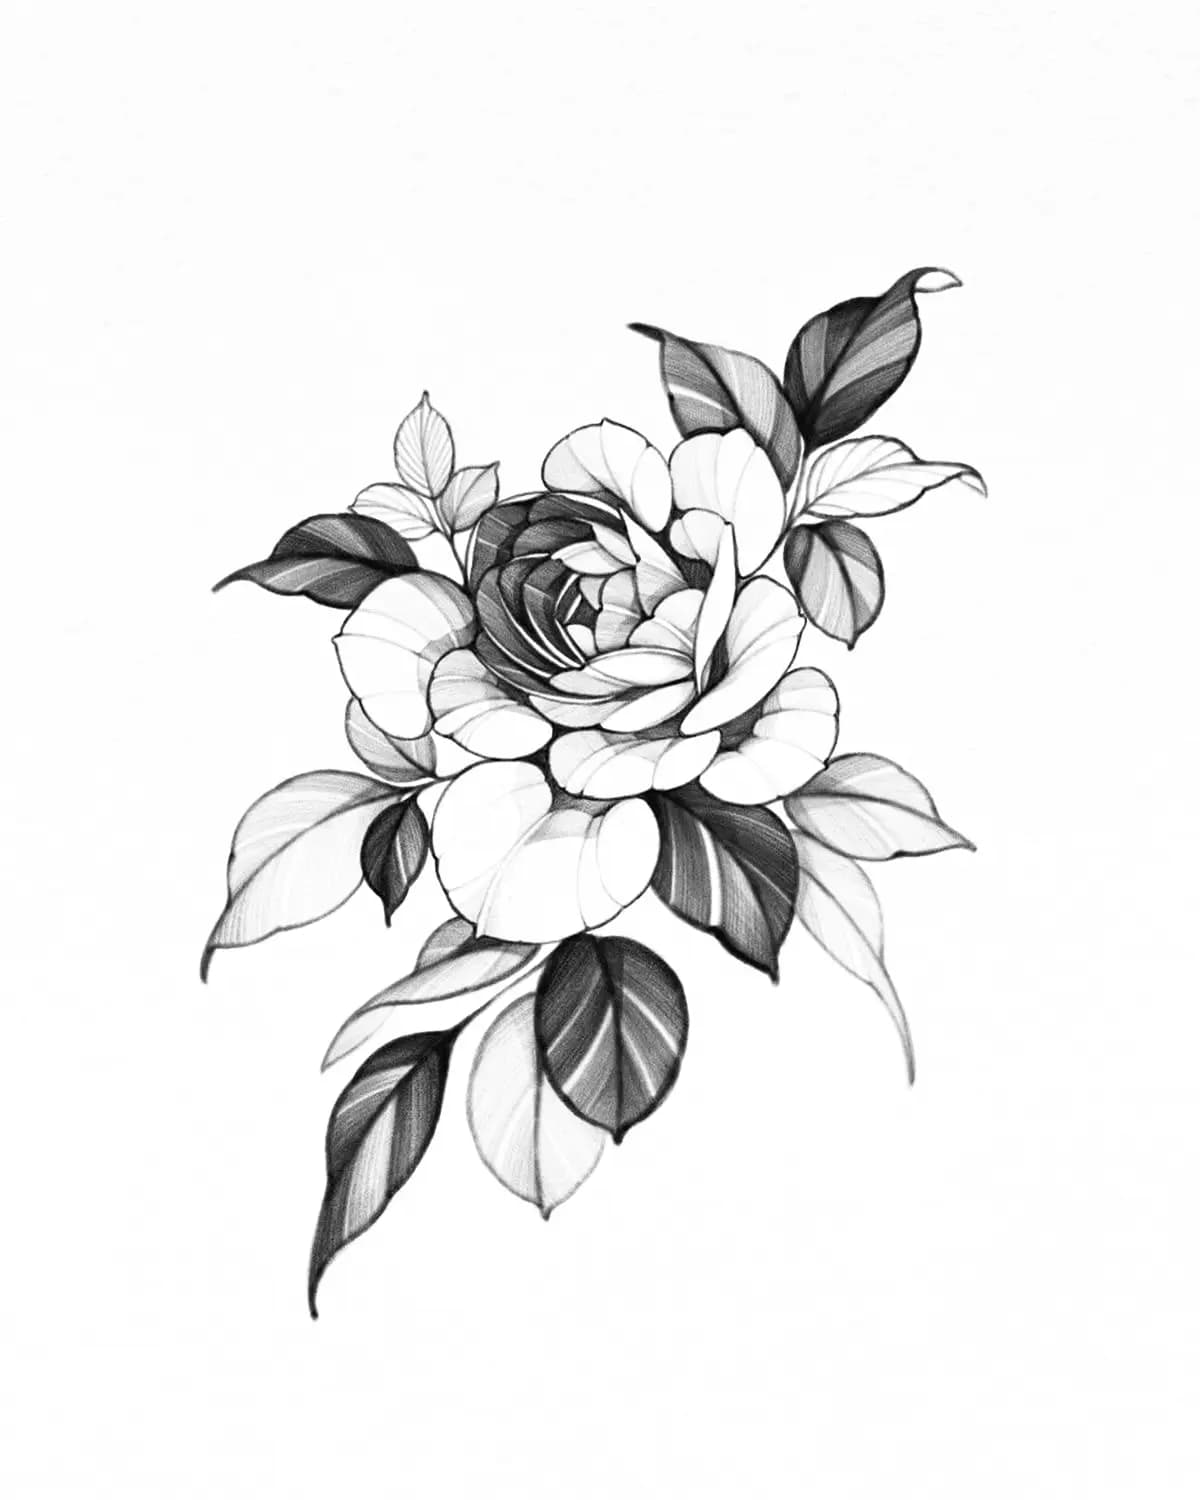
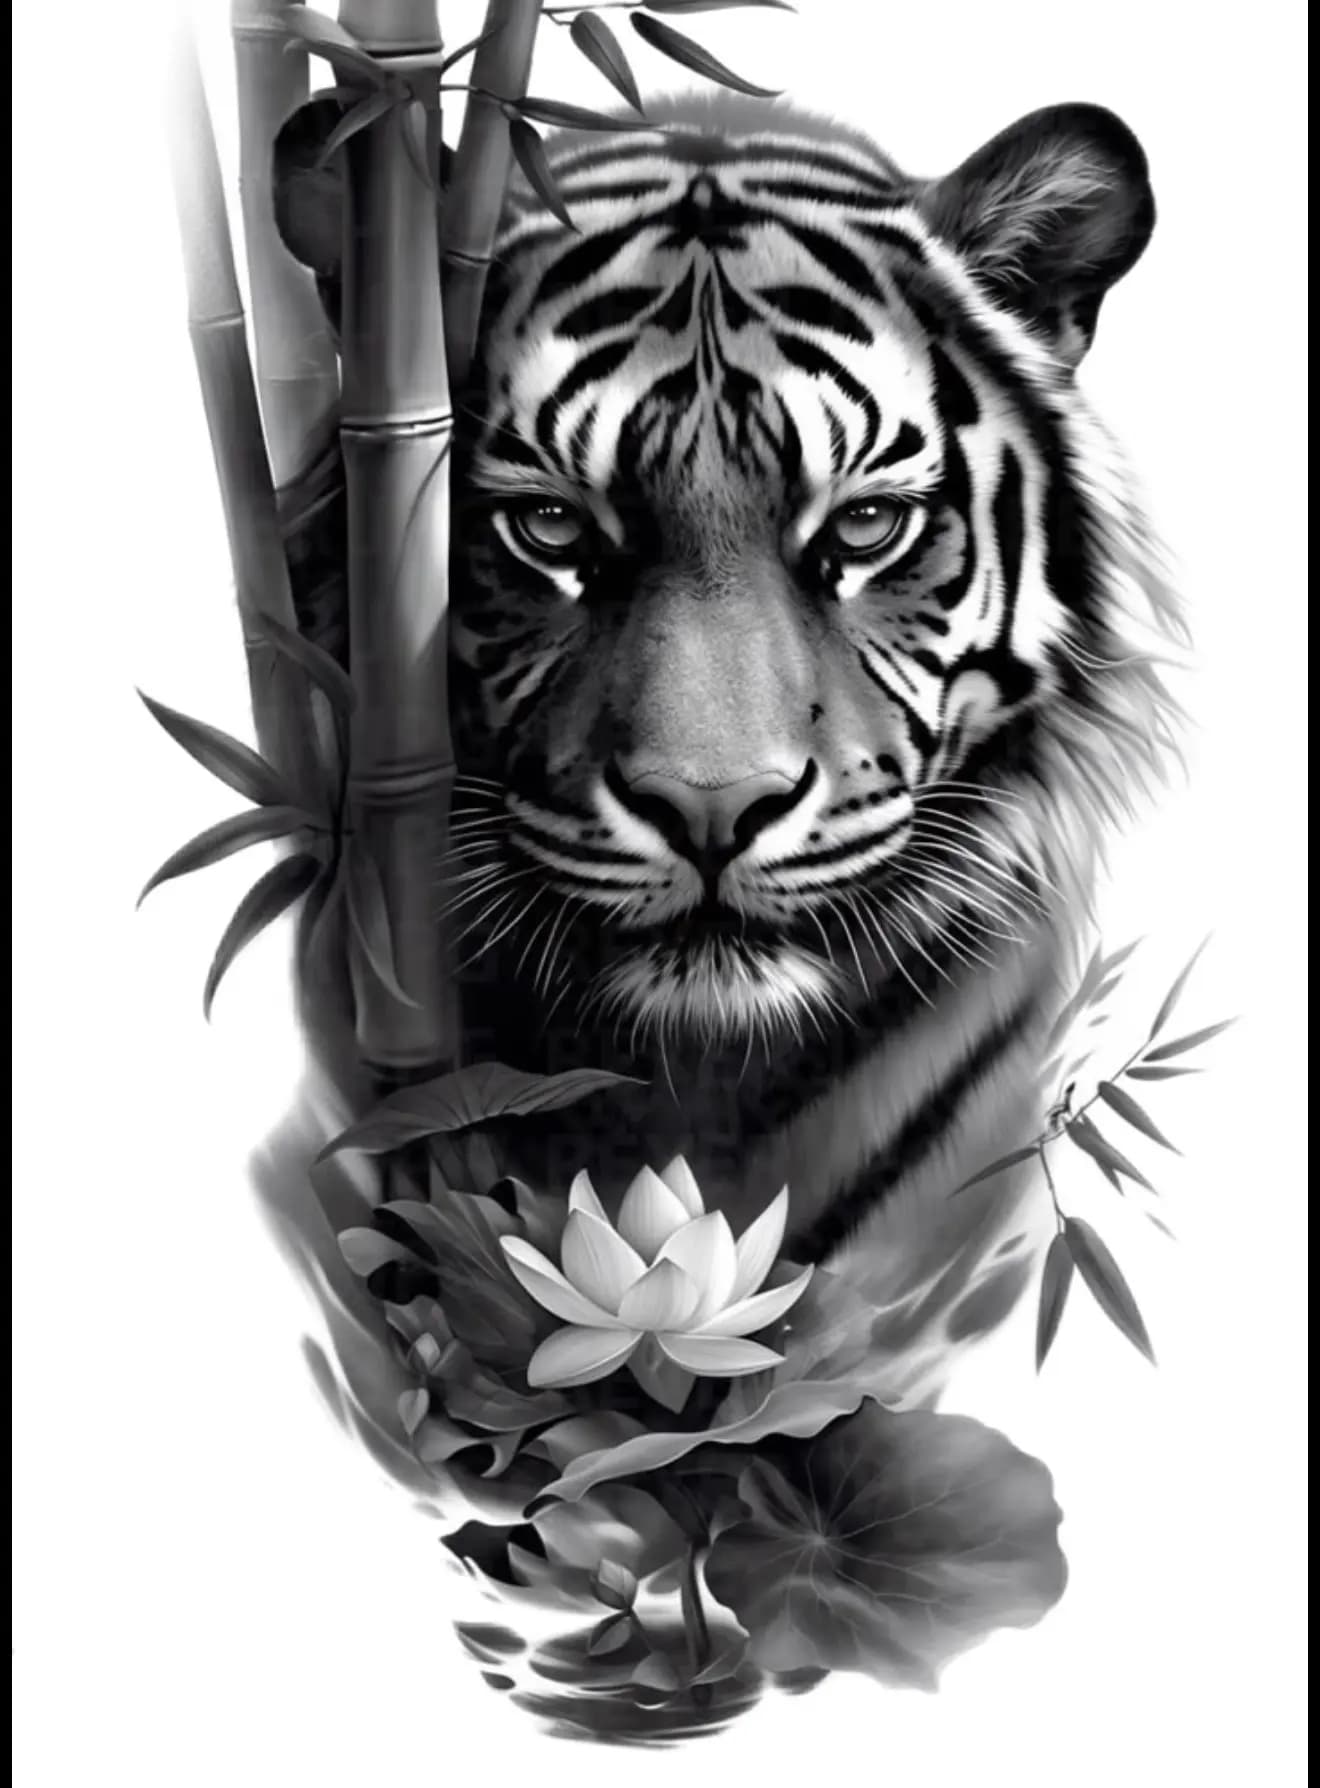

Quality logic
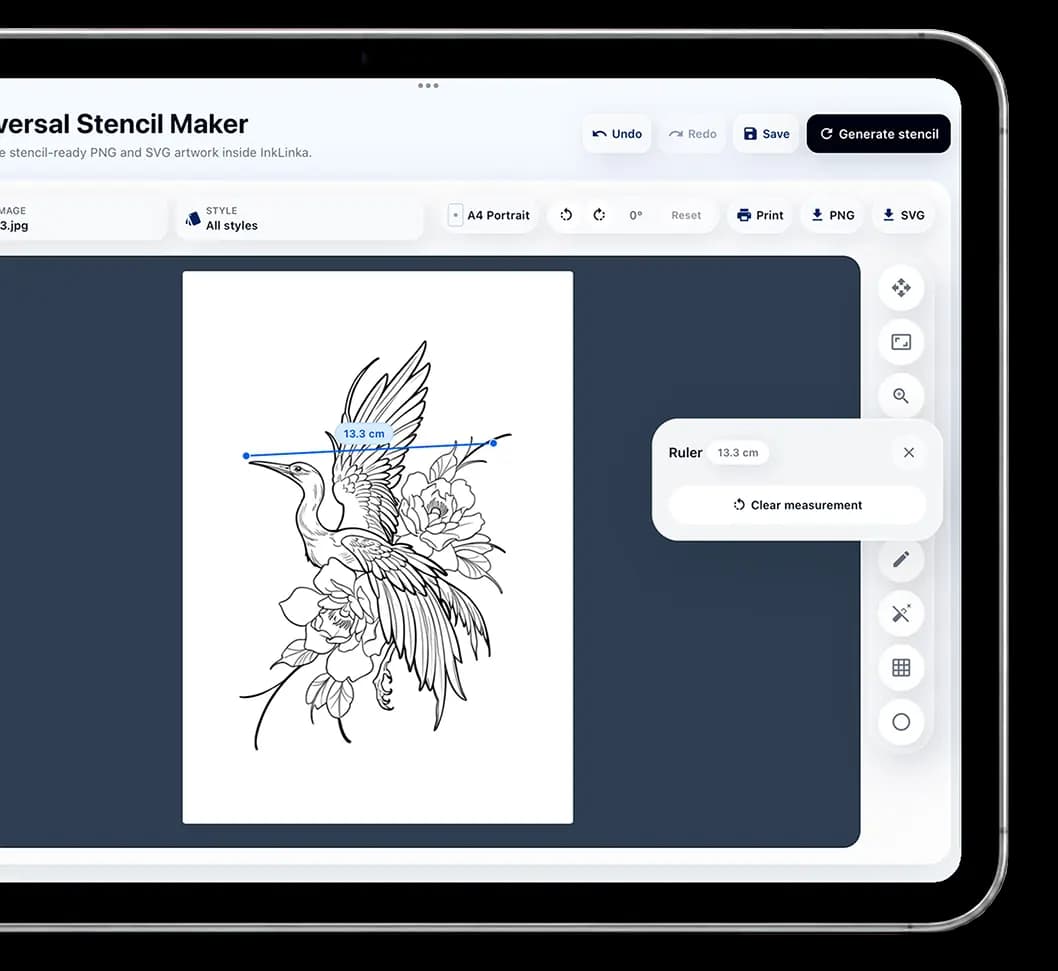
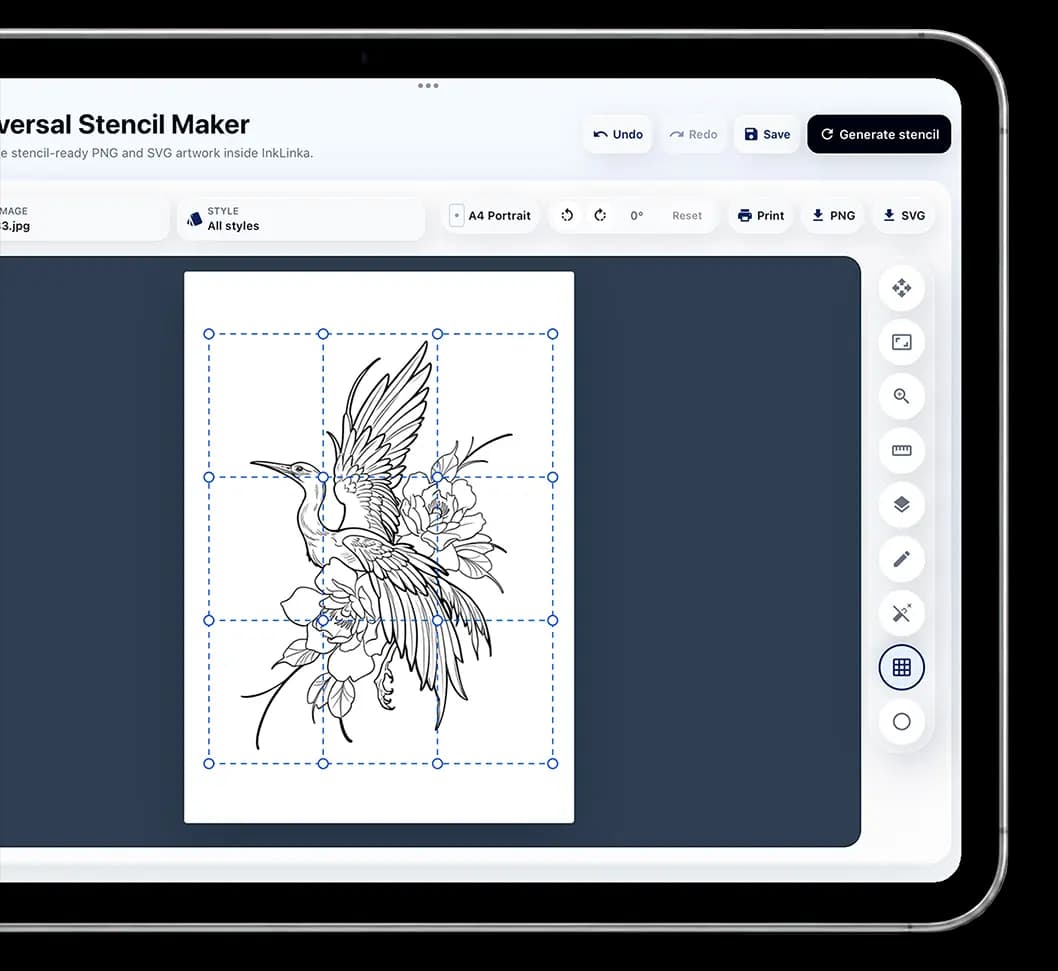
A good stencil is not only what the mode generates. The maker includes the minimum tools needed to turn the draft into a working transfer: correct the shape, set exact millimeter size, draw missing contours or patterns, then save or print.
Move, resize, warp, adjust contour thickness and clean the generated form before export.
Use size controls and ruler checks so the stencil is prepared for the real placement before print.
Pencil and eraser tools let you add missing guide lines, continue ornaments and remove unwanted noise.
Send the finished stencil to print or save it. The top Save button keeps current working-canvas edits for this stencil; generating a new stencil replaces that saved working version.
Ready to generate
Open the generator, upload one clear reference, create a quick non-AI version, then compare it with an AI mode. The difference will show which path fits the tattoo.
Questions
Start with Traditional/Polynesia if the reference is already graphic. Use Graphics Contour when the shape must stay close to the source. Use Universal Semantic Trace for complex realism or shaded references.
A tattoo stencil is a working guide, not a final illustration. AI can select contours and simplify details, but the artist still decides which lines transfer well to skin.
SVG is disabled when the result looks like a low-quality edge map. Clean the PNG first or generate a cleaner version before exporting vector lines.
Check the main silhouette, line hierarchy, missing important parts, background noise, black filled areas and whether the printed size still reads clearly.